Festival season is here and with the world raving about music, art, fashion, and all things creative, it’s time to express your inner artist on a platform of your own – your nails! Whether you’re attending a summer-time festival or just chilling out at home with friends, so many creative nail art ideas are fun and easy to do. From putting rhinestones around painted shapes to adding some intricate mandala designs, these amazing looks will be sure to make you stand out from the crowd this festival season.
Get ready for festival season with these creative nail art ideas
Whether you’re attending a music festival, a summer barbecue, or want to add some extra sparkle to your daily look, here are some fun and easy nail art designs to help you show off your style.
Try marble nails for an elegant look – all you need is white polish and a few drops of different colored polishes. Swirl them together on the nail with a brush and let it dry. Finish with a glossy top coat to complete the effect.
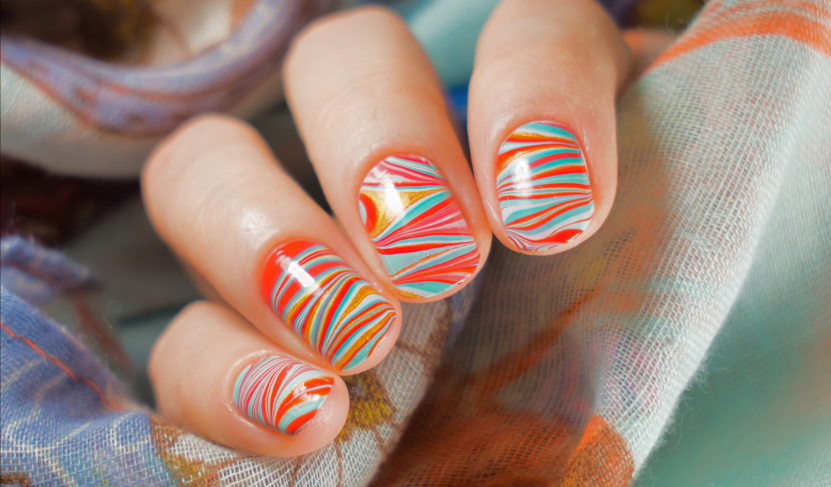
For a more colorful approach, opt for rainbow nails. Start with a white base coat and use thin brushes and different colored polishes to create stripes in any pattern or color combination that suits you best. Then seal everything in place with one final top coat.
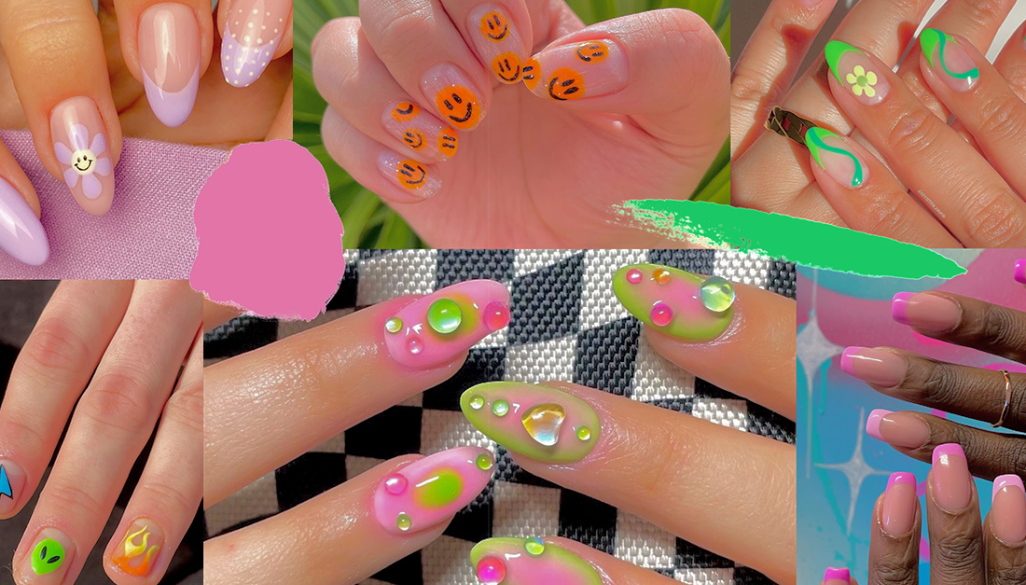
Festival season is a great time to try funky nail art designs, like animal print nails or glow-in-the-dark nails. With animal prints, use a thin brush and black polish to create the shapes of your favorite animals on each nail. For glow-in-the dark nails, start with a white base color and then apply different colors over it – neon green, blue, and pink work best for this look. Finally, finish off with a top coat that contains glow powder so you can show off your unique style in the dark!
No matter what your festival plans are this summer, don’t forget to make them extra special with these fun and creative nail art ideas. So get ready to show off your style and sparkle all season long!
Step-by-step guide to create the perfect festival nail art look
- Start off by preparing your nails. Push back your cuticles, file them into the desired shape and apply a base coat to protect them from any potential staining.
- Next, choose two or three nail polish colors that will make up the main design of your festival-inspired look. Pick colors that will stand out against each other, like a bright pink and neon green or metallic silver and black.
- Begin painting your nails with the lighter color first – this will help create contrast in your design when you go over it with the darker shade later on. Make sure to apply thin layers of polish for even coverage and allow each layer to dry completely before moving onto the next one.
- Once all of your nails are dry and evenly coated with the lighter shade, add some glitter to the tips for a sparkly effect. Dip an eyeshadow brush in glitter polish, press it onto the nail tips, and seal it with a clear top coat.
- Finish off by painting your accent nails with the darker color of polish – let this one dry completely as well before topping it off with another layer of clear nail polish to help protect the design from chipping or fading.
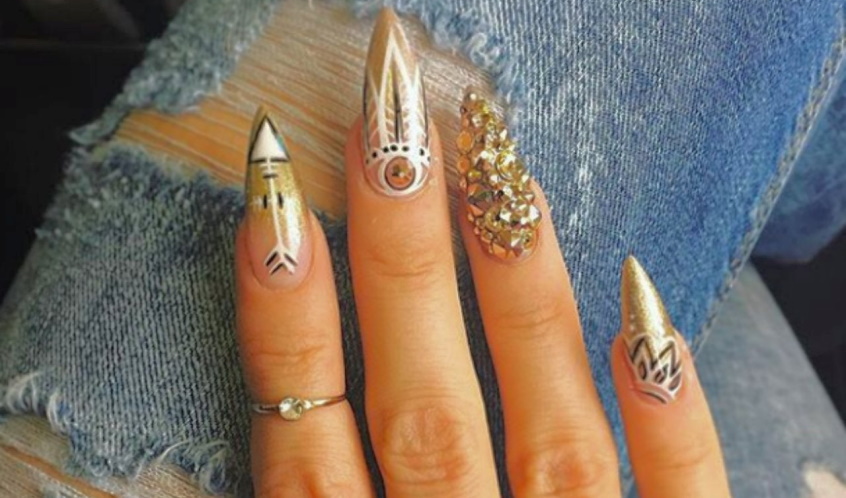
- Finally, you can add fun accessories like beads, charms or stickers to create a unique look that will make your festival nails stand out! Apply them using nail glue or apply them just above the cuticle line and top with a clear top coat again.
And there you have it – the perfect festival nail art look! So, get ready to show off your fabulous creations and have fun this season!